
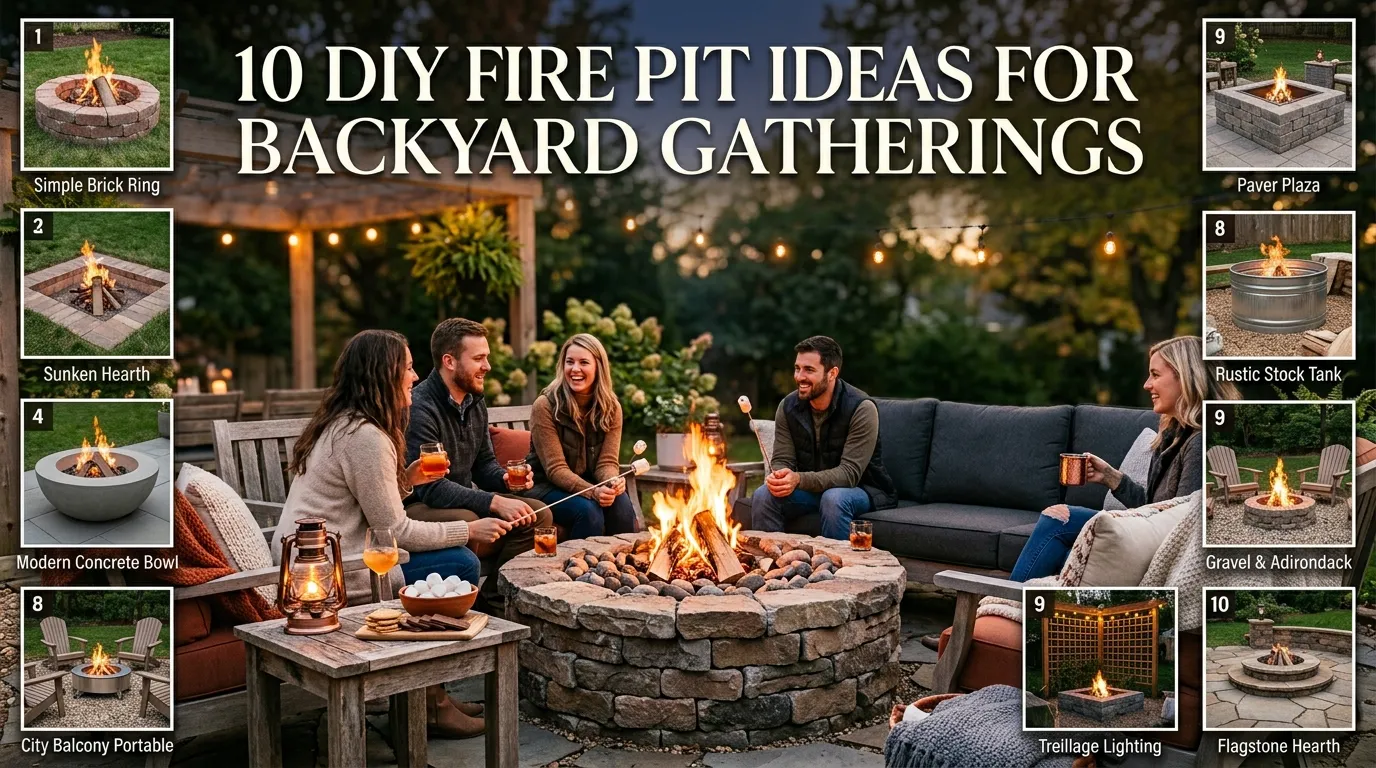
10 DIY Fire Pit Ideas for Backyard Gatherings
A fire pit changes the way people actually use a backyard. In my experience, yards with a dedicated fire pit area get used far more often in the evenings and cooler months than yards without one, simply because there’s a clear, comfortable reason to be outside after the sun goes down. A mistake many homeowners make is assuming a fire pit means either a major masonry project or an expensive prefabricated purchase, when there are plenty of DIY options that fall comfortably in between.
I’ve noticed that the best backyard fire pits aren’t necessarily the most elaborate ones — they’re the ones built at the right scale for how the space actually gets used, with enough seating and clearance to make gathering around them comfortable. One thing that works especially well with a DIY approach specifically is that you can build exactly to your yard’s size and your household’s needs, rather than fitting a one-size-fits-all prefabricated option into your space.
This article covers ten DIY fire pit ideas suited to backyard gatherings, ranging from simple in-ground pits to more built-out seating areas, along with the reasoning behind each approach and practical guidance on materials, safety, and construction. Whether you’re working with a small budget and a weekend of free time, or want to invest in a more permanent built structure, these ideas are meant to fit a range of skill levels and yard sizes.
That said, before starting any fire pit project, it’s worth checking local building codes and fire regulations in your area, since requirements for setback distances, permitted materials, and even whether open fires are allowed at all vary significantly by location.
Table of Contents
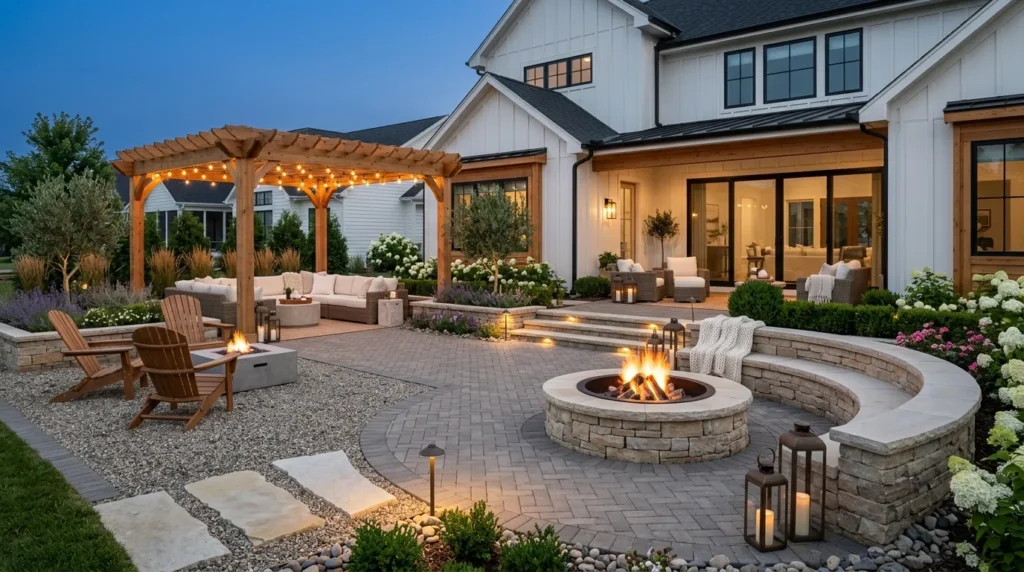
- In-Ground Gravel Fire Pit — A simple, budget-friendly starting option.
- Stacked Stone Ring Design — A classic look using dry-stacked masonry.
- Concrete Paver Fire Pit — Clean, modern lines using standard pavers.
- Metal Ring Insert Build — A safer, contained option for any base design.
- Sunken Seating Fire Pit — A built-in lounge area around the flame.
- Cinder Block Fire Pit — An affordable, sturdy DIY structure.
- Portable Steel Bowl Fire Pit — A flexible, low-commitment option.
- Brick Circle Fire Pit — A traditional look with widely available materials.
- Elevated Fire Pit Table — A dual-purpose seating and dining feature.
- Gas Line Fire Pit Conversion — A cleaner-burning, low-maintenance build.
1. In-Ground Gravel Fire Pit
Quick Benefits
- One of the most budget-friendly fire pit options
- Simple construction suited to beginner DIYers
- Provides good drainage for ash and debris
- Naturally blends into a rustic or casual backyard
- Minimal materials required to get started
Why It Works
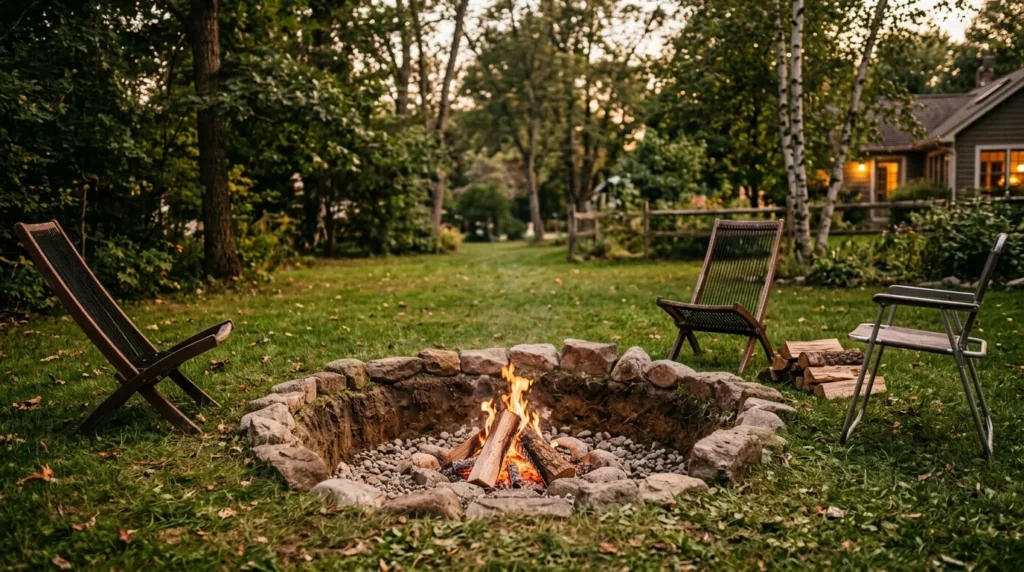
An in-ground gravel fire pit is often the easiest entry point for a first DIY fire pit project, since it requires digging a shallow pit and lining it with gravel rather than building a full above-ground structure. In my experience, this simplicity is exactly why it’s a good starting project, especially for anyone who wants to test how much they’ll actually use a fire pit before investing more time or money into a more elaborate build. A mistake many homeowners make is skipping the gravel base entirely and burning directly on soil, which can create drainage issues and make cleanup more difficult over time.
How To Style It
Dig a shallow pit roughly a foot deep and two to three feet in diameter, then line the bottom with a few inches of gravel for drainage before adding a layer of fire-rated sand or additional gravel. Edge the pit with stones, bricks, or a simple metal ring to define the space and contain the fire safely. Keep the surrounding ground clear of dry grass, leaves, or overhanging branches for a safe clearance zone. Add simple seating around the perimeter, such as camp chairs or a few log rounds, to complete a casual, low-cost gathering spot.
2. Stacked Stone Ring Design
Quick Benefits
- Creates a classic, natural-looking fire pit structure
- Uses widely available, affordable stone materials
- Suits a wide range of backyard styles
- Provides a sturdy, semi-permanent structure
- Can be built without mortar for easier DIY assembly
Why It Works
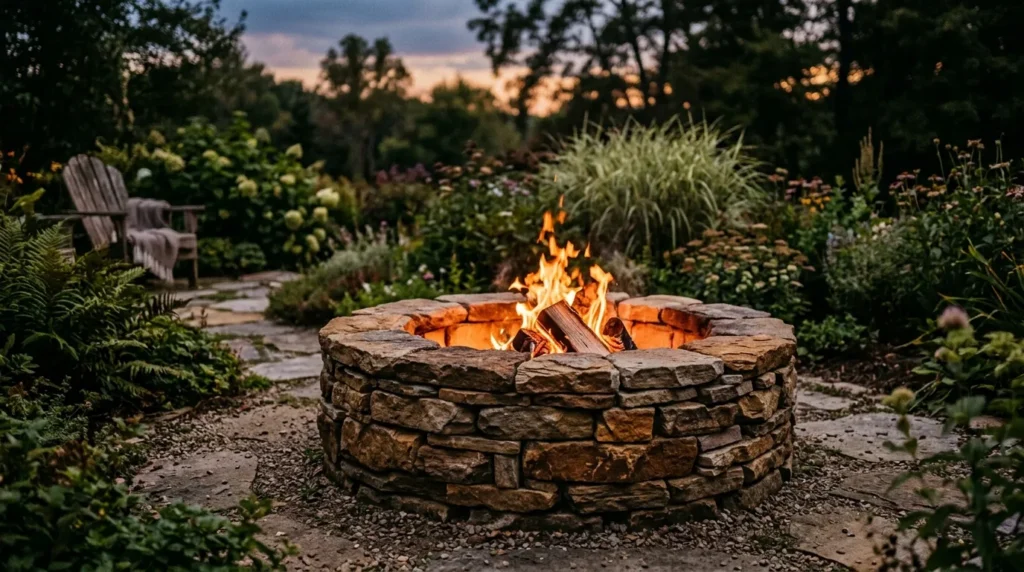
A dry-stacked stone ring brings a timeless, natural look to a backyard fire pit, using stone size and stacking pattern to create both structure and visual interest without requiring mortar or advanced masonry skills. That’s why many designers recommend this approach for DIYers who want a more finished look than an in-ground pit but aren’t ready to commit to a fully mortared, permanent structure. I’ve seen this idea work particularly well in yards with a more natural or rustic landscaping style, since the stone blends easily with surrounding plantings.
How To Style It
Choose fire-rated stones or pavers specifically labeled safe for fire pit use, since some stone types can crack or even explode when exposed to high heat due to trapped moisture. Stack stones in overlapping courses, similar to a dry stone wall, staggering the joints between layers for stability. Line the interior with a metal fire ring insert for added safety and to help the structure hold up over repeated use. Keep the ring at a height of roughly twelve to eighteen inches, which balances visual presence with practical fire management and heat visibility for seated guests.
3. Concrete Paver Fire Pit
Quick Benefits
- Clean, modern look suited to contemporary backyards
- Widely available, consistent materials from most retailers
- Straightforward construction for moderate DIY skill levels
- Durable and low-maintenance once built
- Available in a range of colors and finishes
Why It Works
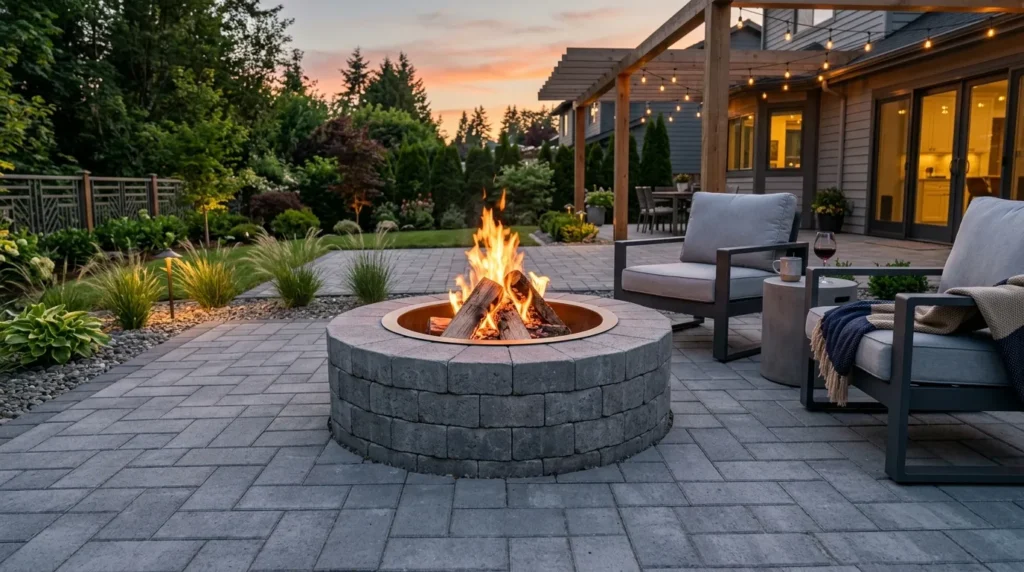
Concrete pavers offer a clean, uniform alternative to natural stone, giving a fire pit a more contemporary, structured look that suits modern backyard designs particularly well. A mistake many homeowners make is assuming pavers only work for flat patio surfaces, when curved or specially designed retaining wall pavers are specifically manufactured for circular fire pit construction. One simple trick I always suggest for anyone wanting a polished DIY look without advanced masonry skills is choosing pavers designed specifically for fire pit or retaining wall applications, since their curved shape makes assembly considerably more straightforward.
How To Style It
Purchase curved retaining wall pavers designed specifically for circular fire pit construction, which eliminates the need to cut standard rectangular pavers to fit a curve. Stack the pavers in a dry-stack pattern, following the manufacturer’s guidance for how many courses provide adequate height and stability. Line the interior with a metal fire ring for both safety and to protect the pavers from direct flame contact over time. Choose a paver color and finish that complements your existing patio or hardscaping for a cohesive overall look.
4. Metal Ring Insert Build
Quick Benefits
- Adds a layer of safety to nearly any fire pit design
- Protects surrounding materials from direct flame damage
- Extends the lifespan of stone or paver structures
- Available in a range of sizes to fit different pit dimensions
- Relatively inexpensive compared to the overall project cost
Why It Works
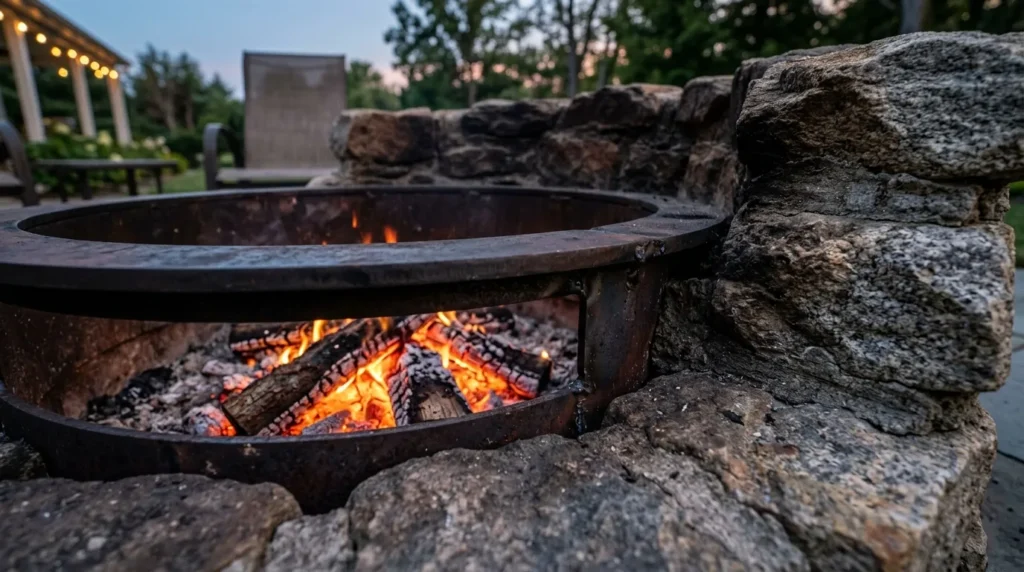
A metal fire ring insert isn’t a fire pit design on its own so much as a safety and durability upgrade that pairs with nearly any of the other ideas on this list. In my experience, skipping this component is one of the more common oversights in DIY fire pit projects, since the ring protects the surrounding stone, paver, or block structure from the direct heat and flame exposure that can cause cracking or premature deterioration over repeated use. A mistake many homeowners make is assuming their chosen building material alone will hold up indefinitely without this added protection.
How To Style It
Measure your planned fire pit’s interior diameter before purchasing a metal ring insert, since these are typically sold in standard sizes and need to fit snugly within your surrounding structure. Choose a heavy-gauge steel ring, which will hold up better to repeated heat cycling than a thinner, lower-cost option. Position the ring so its top edge sits slightly below or level with the surrounding stone or paver wall, which helps contain sparks and embers more effectively. Clean ash and debris from the ring regularly, since built-up debris can affect airflow and combustion efficiency over time.
5. Sunken Seating Fire Pit
Quick Benefits
- Creates a dedicated, built-in gathering area
- Encourages longer, more comfortable gatherings
- Adds a distinct architectural feature to the yard
- Works well for larger groups compared to a simple ring
- Can be customized with built-in seating materials
Why It Works
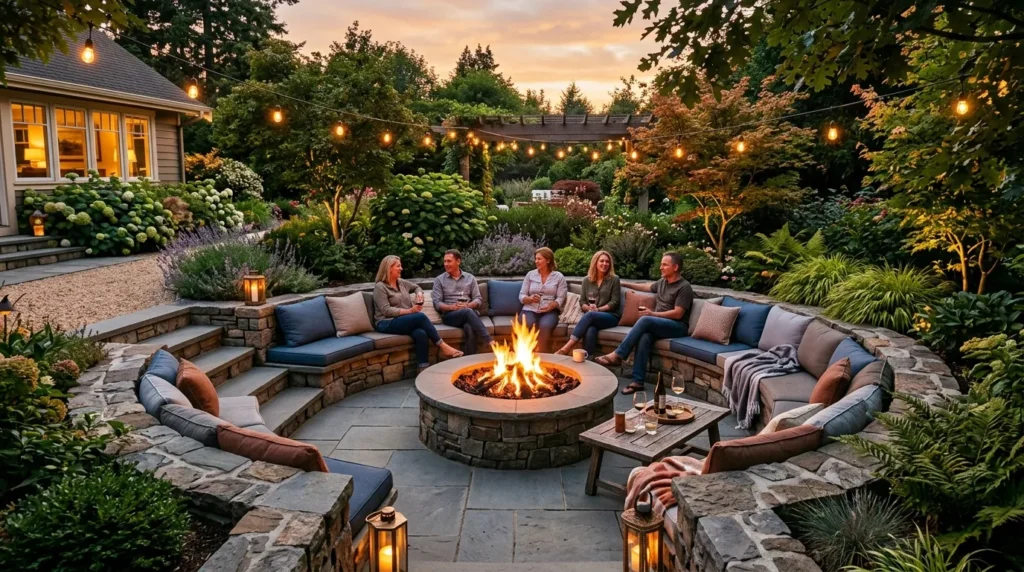
A sunken seating fire pit takes the concept further than a simple ring by incorporating a slightly lowered central area surrounded by built-in bench seating, creating a more intentional outdoor room rather than just a fire feature. I’ve seen this idea transform how frequently a backyard gets used for gatherings, since the built-in seating removes the need to haul chairs out every time, making it far more convenient to use spontaneously. That’s why many designers recommend this approach specifically for households that entertain regularly and want a fire pit area that functions as a genuine outdoor living room.
How To Style It
Excavate a shallow, sunken area roughly six to twelve inches below the surrounding grade, with the fire pit itself positioned at the center of this recessed space. Build permanent or semi-permanent bench seating around the perimeter using stone, concrete block, or pressure-treated lumber, sized comfortably for adults to sit with their feet on the lower level. Add weatherproof cushions to the built-in seating for comfort, since bare stone or concrete benches can be uncomfortable for extended sitting. Ensure adequate drainage in the sunken area, since a recessed space without proper grading can collect water after rain.
6. Cinder Block Fire Pit
Quick Benefits
- One of the most affordable DIY fire pit materials
- Widely available at nearly any hardware store
- Sturdy and straightforward to assemble
- Can be finished with veneer for a more polished look
- Suitable for a range of skill levels
Why It Works
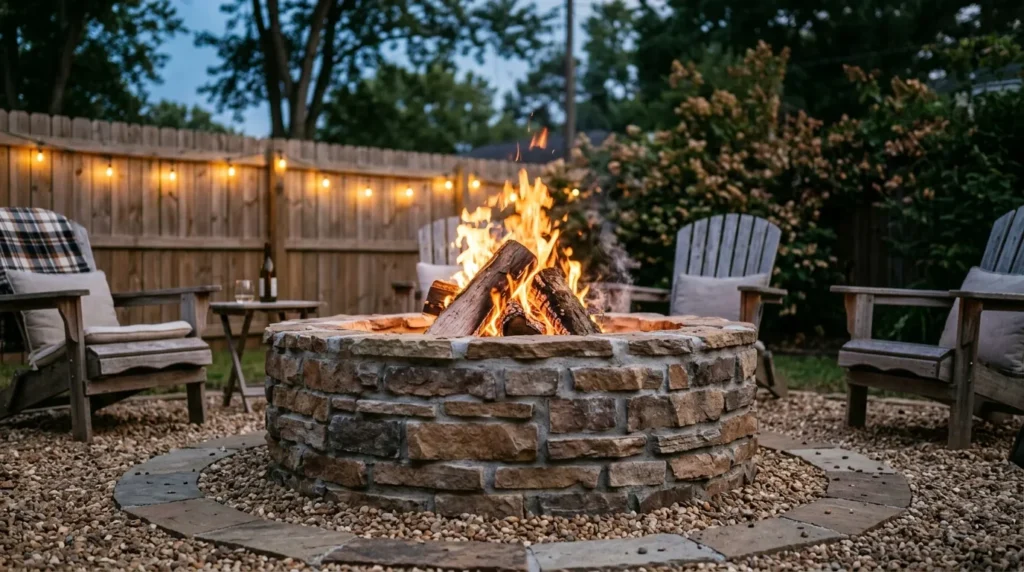
Cinder blocks are among the most affordable and widely available materials for a DIY fire pit, making this a practical option for anyone working with a tight budget or wanting to complete a project quickly with materials from a single hardware store trip. A mistake many homeowners make is assuming cinder block automatically looks unfinished or utilitarian, when a bit of thoughtful stacking, plus an optional stone or stucco veneer finish, can create a genuinely attractive final result. One simple trick I always suggest is dry-stacking blocks in a staggered, brick-like pattern rather than a simple straight-up stack, which adds visual interest and structural stability.
How To Style It
Stack standard or fire-rated cinder blocks in a circular pattern, staggering the joints between each course for added stability, similar to traditional masonry techniques. Line the interior with a metal fire ring to protect the blocks from direct flame exposure and extend the structure’s lifespan. If a more finished look is desired, apply a stone veneer or stucco coating to the exterior once the structure is complete and fully cured. Keep the finished height around twelve to eighteen inches for a comfortable, functional fire pit that doesn’t obstruct views for seated guests.
7. Portable Steel Bowl Fire Pit
Quick Benefits
- Requires no digging or permanent construction
- Easy to relocate as needed within the yard
- Suitable for renters or temporary outdoor spaces
- Available at a wide range of price points
- Simple to store during off-seasons or bad weather
Why It Works
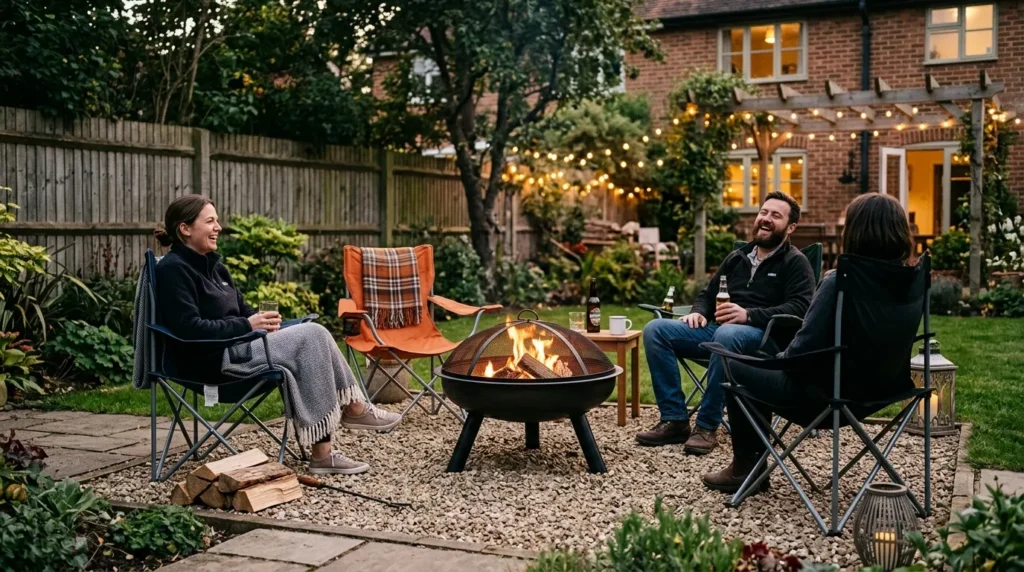
A portable steel fire bowl offers the flexibility that permanent built structures can’t, making it an especially good option for renters, anyone uncertain about a permanent fire pit’s exact placement, or those who simply want to experiment before committing to a bigger project. I’ve noticed that this option also suits smaller yards particularly well, since the bowl can be moved to different spots depending on the occasion or even brought inside during storage season to extend its lifespan. That’s why many designers recommend starting here for anyone who isn’t sure a fire pit is worth the investment of a permanent build.
How To Style It
Choose a steel or cast iron bowl with a spark screen accessory if available, which adds a layer of safety by containing embers more effectively than an open bowl. Place the bowl on a heat-resistant surface, such as a paver pad, gravel patch, or dedicated fire-resistant mat, rather than directly on grass or a wood deck. Position portable seating, like folding chairs or a small bench, in a loose circle around the bowl, keeping the arrangement flexible since it can be reconfigured for different group sizes. Store the bowl in a covered area during winter or extended periods of disuse to prevent rust and prolong its lifespan.
8. Brick Circle Fire Pit
Quick Benefits
- Traditional look using widely available brick materials
- Sturdy and long-lasting once properly constructed
- Suits classic and cottage-style backyard aesthetics
- Moderate DIY difficulty with clear step-by-step process
- Can be built with or without mortar depending on preference
Why It Works
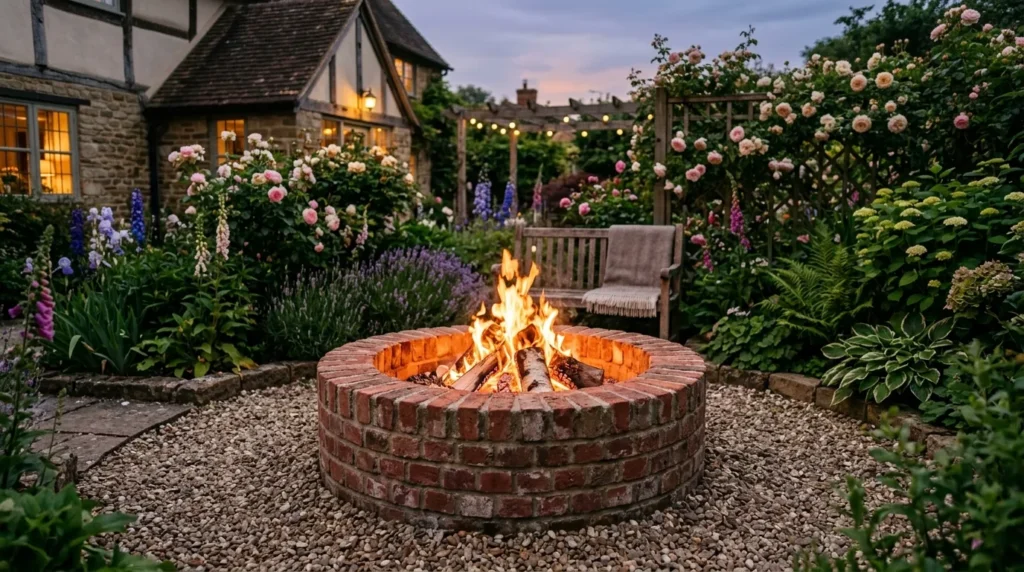
A brick fire pit brings a traditional, classic look that suits cottage-style or more established backyard settings particularly well, using a material that’s widely available and familiar to most DIYers. In my experience, brick also offers a good middle ground between the rustic look of stacked stone and the more contemporary appearance of concrete pavers, making it a versatile choice for a range of backyard styles. A mistake many homeowners make is using standard building brick rather than fire brick or fire-rated pavers, since standard brick can crack or degrade more quickly under direct, repeated heat exposure.
How To Style It
Use fire brick or fire-rated pavers specifically labeled for high-heat applications, rather than standard construction brick, which isn’t designed to withstand direct flame exposure over time. Lay bricks in a circular pattern, either dry-stacked for easier disassembly and adjustment or mortared for a more permanent, polished structure. Line the interior with a metal fire ring for added protection and easier ash cleanup between uses. Add a brick or paver border extending outward from the base of the pit to create a defined, swept-clean zone around the fire area.
9. Elevated Fire Pit Table
Quick Benefits
- Doubles as both a fire feature and a functional table
- Comfortable seated height for extended gatherings
- Suits patios and smaller outdoor spaces well
- Available in gas or wood-burning configurations
- Adds a polished, furniture-like element to the yard
Why It Works
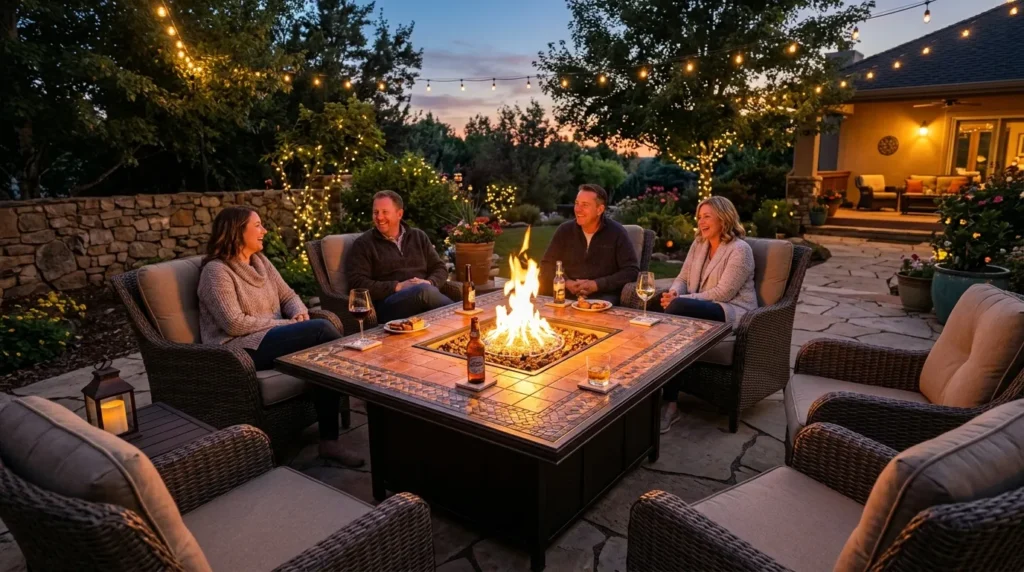
An elevated fire pit table raises the fire feature to standard table height, allowing it to function as both a gathering point and a practical surface for setting down drinks or food during a gathering. This idea works especially well on patios or in smaller outdoor spaces where a full sunken seating area isn’t practical, since the table format fits naturally alongside standard outdoor furniture. One simple trick I always suggest for this build is incorporating a small lip or ledge around the fire opening, which provides a stable surface for glasses without the risk of items sliding into the flame area.
How To Style It
Build or purchase a table base at a standard height of roughly eighteen to twenty-four inches, incorporating a metal fire pan or insert at the center for the actual flame source. Choose a tabletop material that can handle heat exposure near the fire opening, such as tile, stone, or a specifically rated metal surface. Surround the table with standard outdoor dining or lounge chairs, positioned close enough for easy conversation but with adequate clearance from the heat source. Consider a gas-burning insert for this style specifically, since it offers cleaner, more controllable heat suited to a table setting compared to an open wood fire.
10. Gas Line Fire Pit Conversion
Quick Benefits
- Provides cleaner, more controllable heat than wood
- Eliminates the need for firewood storage and cleanup
- Can be turned on and off instantly for convenience
- Suitable for areas with wood-burning fire restrictions
- Lower ongoing maintenance compared to wood-burning pits
Why It Works
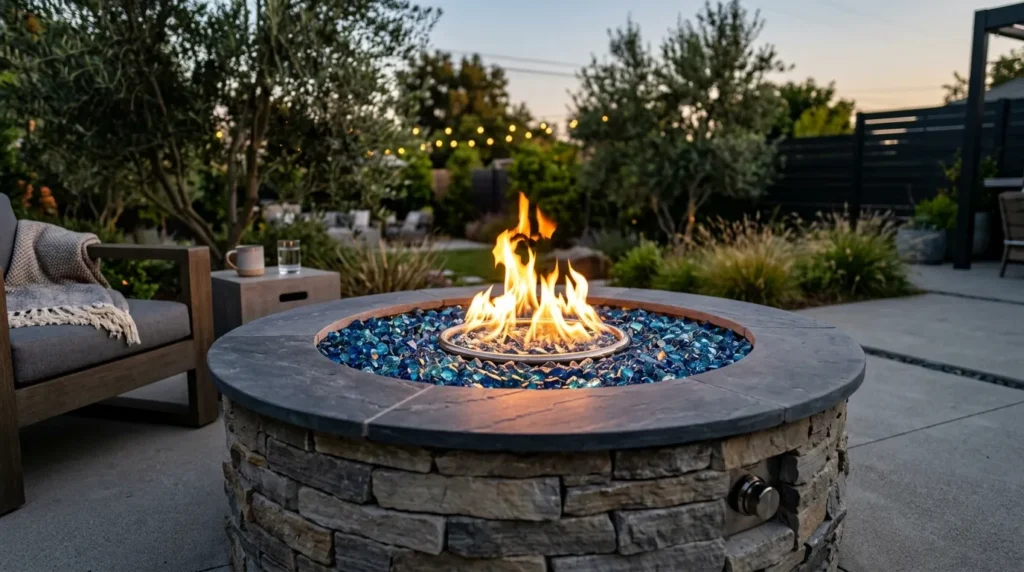
Converting a fire pit design to run on a gas line rather than burning wood offers a level of convenience and control that appeals to many households, particularly in areas where wood-burning fires face local restrictions or where the cleanup and firewood storage of a traditional pit feels impractical. That’s why many designers recommend this option specifically for households that want frequent, low-effort use of their fire pit without the extra maintenance that wood burning requires. A mistake many homeowners make is attempting this kind of gas line installation without appropriate permits or professional help for the actual gas connection, which is a step that typically requires licensed work for both safety and code compliance.
How To Style It
Plan your fire pit structure, whether stone, paver, or block, around a gas burner ring and lava rock or fire glass fill rather than an open wood-burning design. Hire a licensed professional to handle the actual gas line installation and connection, even if you’re completing the surrounding structure yourself as a DIY project. Choose fire glass or lava rock in a color and size that complements your overall backyard palette, since these materials are visible around the flame at all times. Test the system thoroughly with your installer before regular use, and check the ignition and shut-off mechanisms periodically to ensure everything functions safely.
Frequently Asked Questions
What’s the easiest DIY fire pit for a beginner?
An in-ground gravel fire pit is generally the simplest option, requiring only digging, a gravel base, and a simple stone or metal edge, without any masonry skills required. A portable steel bowl fire pit is an even lower-effort alternative that requires no digging or construction at all. Both are good starting points before committing to a more involved build.
Do I need a permit to build a DIY fire pit?
Requirements vary significantly by location, so it’s important to check local building codes and fire regulations before starting any fire pit project. Some areas require permits for permanent structures, specify minimum distances from structures and property lines, or restrict open wood-burning fires entirely. Contacting your local building or fire department directly is the most reliable way to confirm requirements for your specific area.
What materials should I avoid using in a fire pit?
Avoid standard building brick, river rock, and other stones not specifically rated for fire pit use, since these materials can crack, pop, or even explode when exposed to sustained high heat due to trapped moisture. Always choose fire brick, fire-rated pavers, or stones specifically labeled safe for fire pit applications. A metal fire ring insert adds an additional layer of protection regardless of which exterior material you choose.
How far should a fire pit be from my house or fence?
Recommended clearance distances vary by local regulation, but a common general guideline is at least ten feet from structures, fences, and overhanging trees, with some jurisdictions requiring more depending on pit size and fuel type. Checking your specific local fire code is essential, since these distances can differ meaningfully between areas. Clearing the surrounding ground of dry grass, leaves, and other flammable debris is also an important safety step regardless of the exact distance chosen.
Is a gas fire pit better than a wood-burning one?
Gas fire pits offer more convenience, cleaner burning, and instant on-off control, while wood-burning pits provide a more traditional ambiance, sound, and scent that many people specifically enjoy. The better choice depends on how you plan to use the space and whether local regulations allow wood-burning fires in your area. Some households choose a gas option specifically for convenience during frequent, casual use.
How much does a DIY fire pit typically cost to build?
Costs vary widely depending on materials and scale, but simple options like an in-ground gravel pit or a cinder block build are generally the most affordable, often achievable with a modest hardware store budget. More elaborate builds, like a sunken seating area or a gas line conversion, involve significantly more material and, in the case of gas, professional installation costs. Starting with a simpler design is a reasonable way to test how much use the fire pit gets before investing in a larger project.
Conclusion
A DIY fire pit is one of the most effective ways to get more use out of a backyard, extending gathering time into the evening and cooler months while adding a genuine focal point to the space. From a simple in-ground gravel pit to a more elaborate sunken seating area or gas conversion, each of these ideas offers a different balance of cost, effort, and finished look, so there’s a reasonable starting point regardless of your budget or DIY experience.
If you’re ready to start your own project, check your local fire and building codes first, then choose the design that best matches your skill level and how you plan to use the space. A fire pit built at the right scale for your household tends to get used far more consistently than one that’s either too ambitious to finish or too small for how you actually gather.
Start with one or two ideas and gradually build a space that reflects your style and supports everyday comfort.
Related Articles
- 10 Backyard Landscape Design Ideas with Beautiful Greenery
- 10 Garden Decor Ideas You’ll Want to Copy
- Patio and Outdoor Living Ideas
- DIY Accent Wall Ideas
- Outdoor Entertaining Setup Ideas